Convert Python Program to exe
PyInstaller and auto-py-to-exe — two ways to bundle Python apps into standalone executables users can run without Python installed.
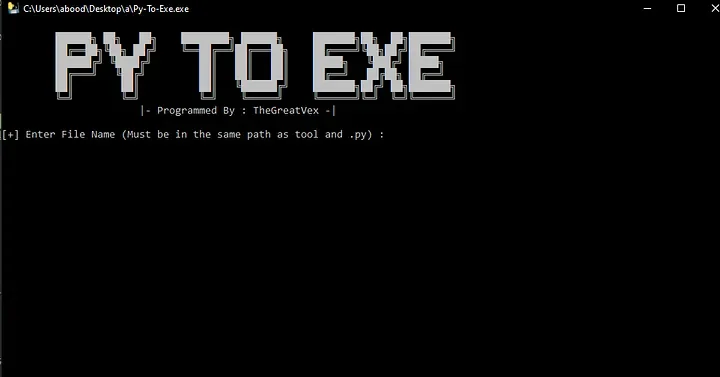
Why Convert to exe?
Python makes building GUI apps easy with Tkinter and other libraries.
But sharing them is hard: recipients need Python installed, need the right packages, need to run scripts from terminal.
Converting to .exe removes all of this — users double-click and it works.
Method 1: PyInstaller (Command Line)
PyInstaller bundles a Python program and all its dependencies into a single package.
The recipient doesn't need Python or any modules installed.
Output: .exe on Windows, standard executable on Linux, .app on macOS.
Best practice: run it from inside a virtual environment containing only your app's dependencies — otherwise PyInstaller may sweep in every package from your global Python and inflate the executable.
Step 1: Install PyInstaller
pip install pyinstallerStep 2: Open terminal in your project folder
Right-click the folder containing your Python file → "Open in Terminal" (or cd to the folder).
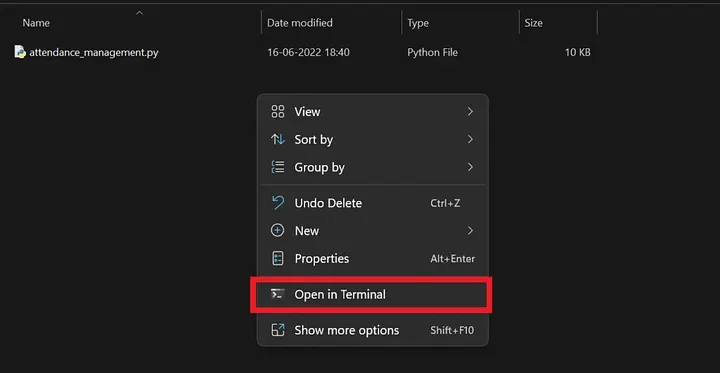
Step 3: Run the conversion command
pyinstaller --onefile -w 'filename.py'Replace filename.py with your actual file. Flags:
--onefile— bundles everything into a single.exe-w— suppresses the console window (use for GUI apps)
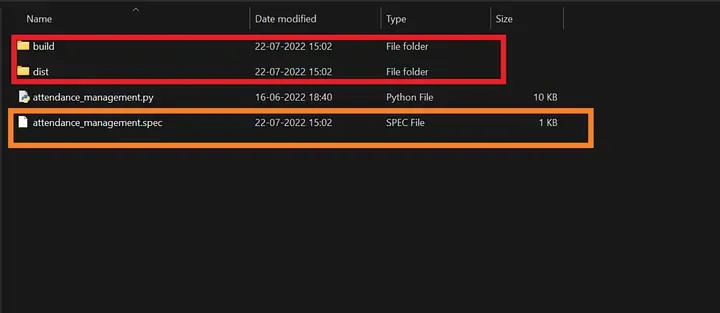
Step 4: Find your executable
PyInstaller creates three outputs:
dist/— your distributable.exefile is herebuild/— internal metadata, useful for debugging build issuesfilename.spec— configuration file for advanced customization
dist/ folder contents — the build/ folder and .spec file are build artifacts, not needed by end users."
Method 2: auto-py-to-exe (GUI)
auto-py-to-exe provides a graphical browser-based interface built on top of PyInstaller. It's more accessible for beginners and makes it easy to add extra files, icons, and configure advanced options visually. The output is a built executable rather than the original source code — the GUI also provides some security by not exposing the .py directly.
Step 1: Install
pip install auto-py-to-exeStep 2: Launch the GUI
auto-py-to-exeThis opens a browser-based interface.
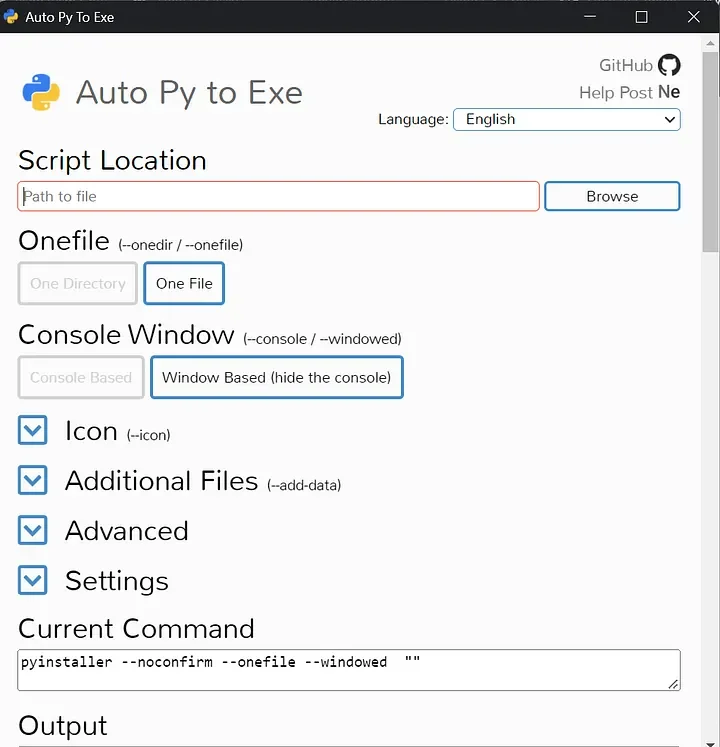
Step 3: Select your Python file
Click the Browse button and select your .py script.
Step 4: Choose packaging mode
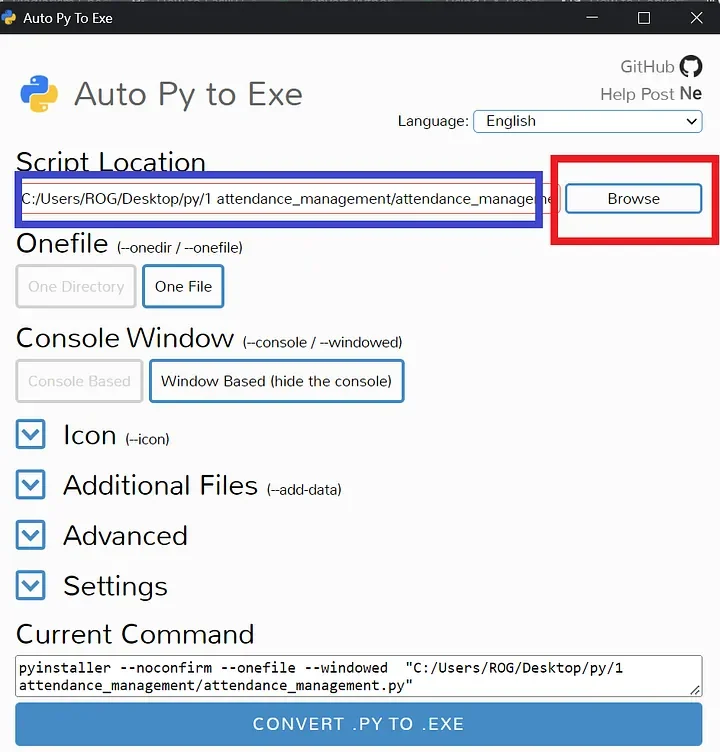
- One File — single
.exe, easy to share, but media files (images, sounds) are NOT bundled — use "Additional Files" for those - One Directory — folder with executable and all dependencies, better for apps with asset files, faster startup (no extraction step)
Step 5: Add extra files if needed
Use the "Additional Files" menu to include images, databases, or other assets your app requires.
Step 6: Convert
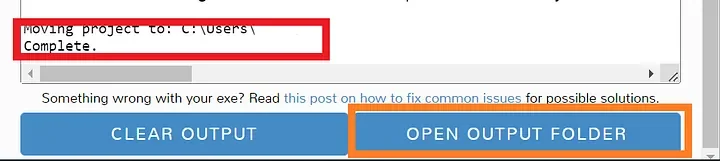
Click "CONVERT .PY TO .EXE". When complete, the output path is shown — click "OPEN OUTPUT FOLDER" to access your executable.
Method Comparison
- PyInstaller (CLI): faster for experienced users, scriptable, CI/CD friendly
- auto-py-to-exe (GUI): easier for beginners, visual configuration, same underlying engine
- Both produce: platform-specific executable — build on Windows for Windows, Linux for Linux, macOS for macOS
- One File vs One Directory: One File is simpler to share; One Directory is better for apps with bundled assets